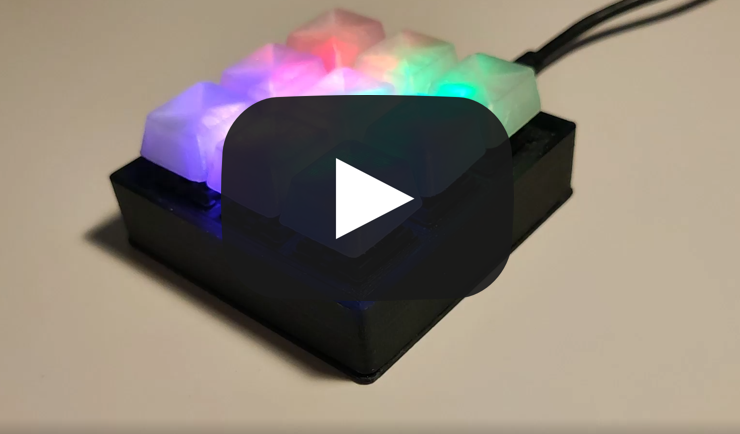
Macro keybord with with Cherry MX Brown and RGB.
I originally made this project for a friend of mine who wanted a macro keyboard the size of a numpad but
thought the ones available were either too expensive, ugly or both.
It was to be used with a drawing tablet so it needed to be small and not too tall.
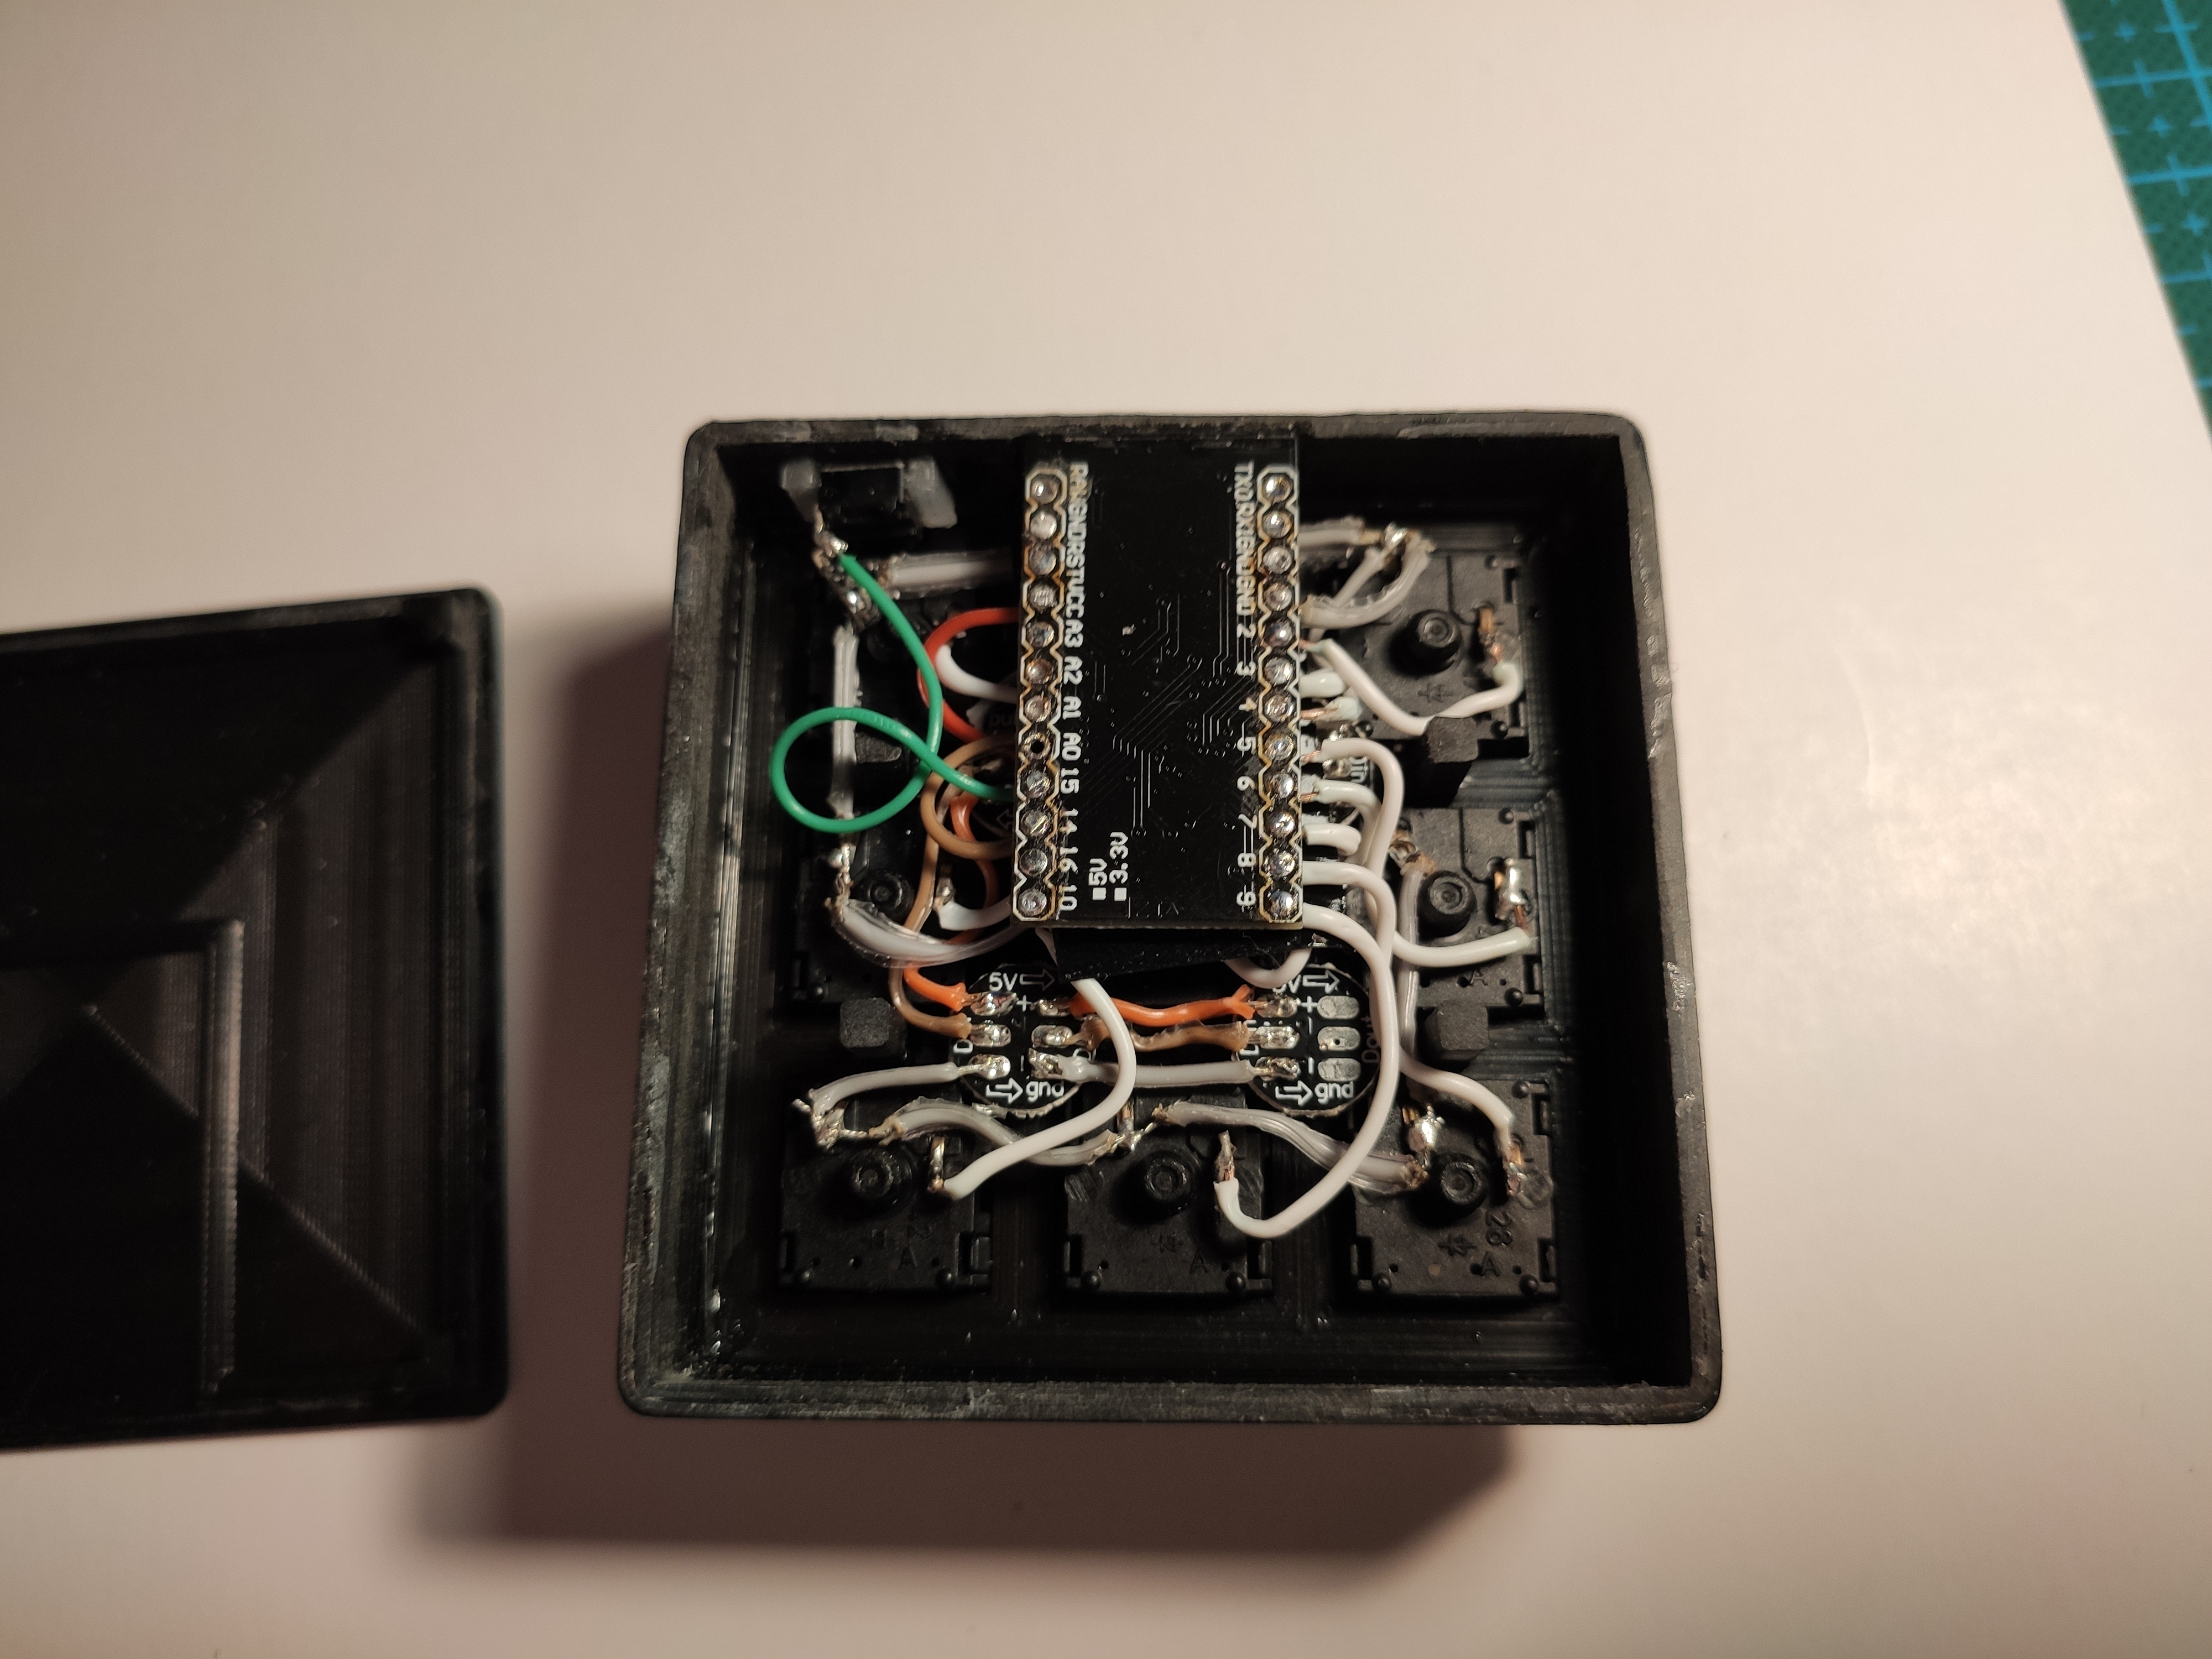
I used an Arduino Pro micro because of its ATmega32U4 enabling it to be used as a HID, in our case a keyboard.
The LEDs are ws2812b and can easily be used with the FastLED library.
I chose not to hardcode keys or key combinations (Ctrl + C etc.) but instead used the F13 to F21 key. That way, I can change the macros to
what ever I want without a need to change the code in the macro keyboard. This can be done either in the specific
software you use or OS wide with a software like AutoHotKey.
However, some linux distros use F13-F21 for special functions. these can be unbound with, for example, xmodmap.
The code itself is easy enough to follow. It has a hardcoded list of colors to cycle through, a class for the buttons to handle debouncing and presses.
The main loop checks all the main buttons and depending on debounce time and the state of the button either runs Keyboard.press or Keyboard.release.
The second part handles the color switching and picks the color depending on the variable ledCount.
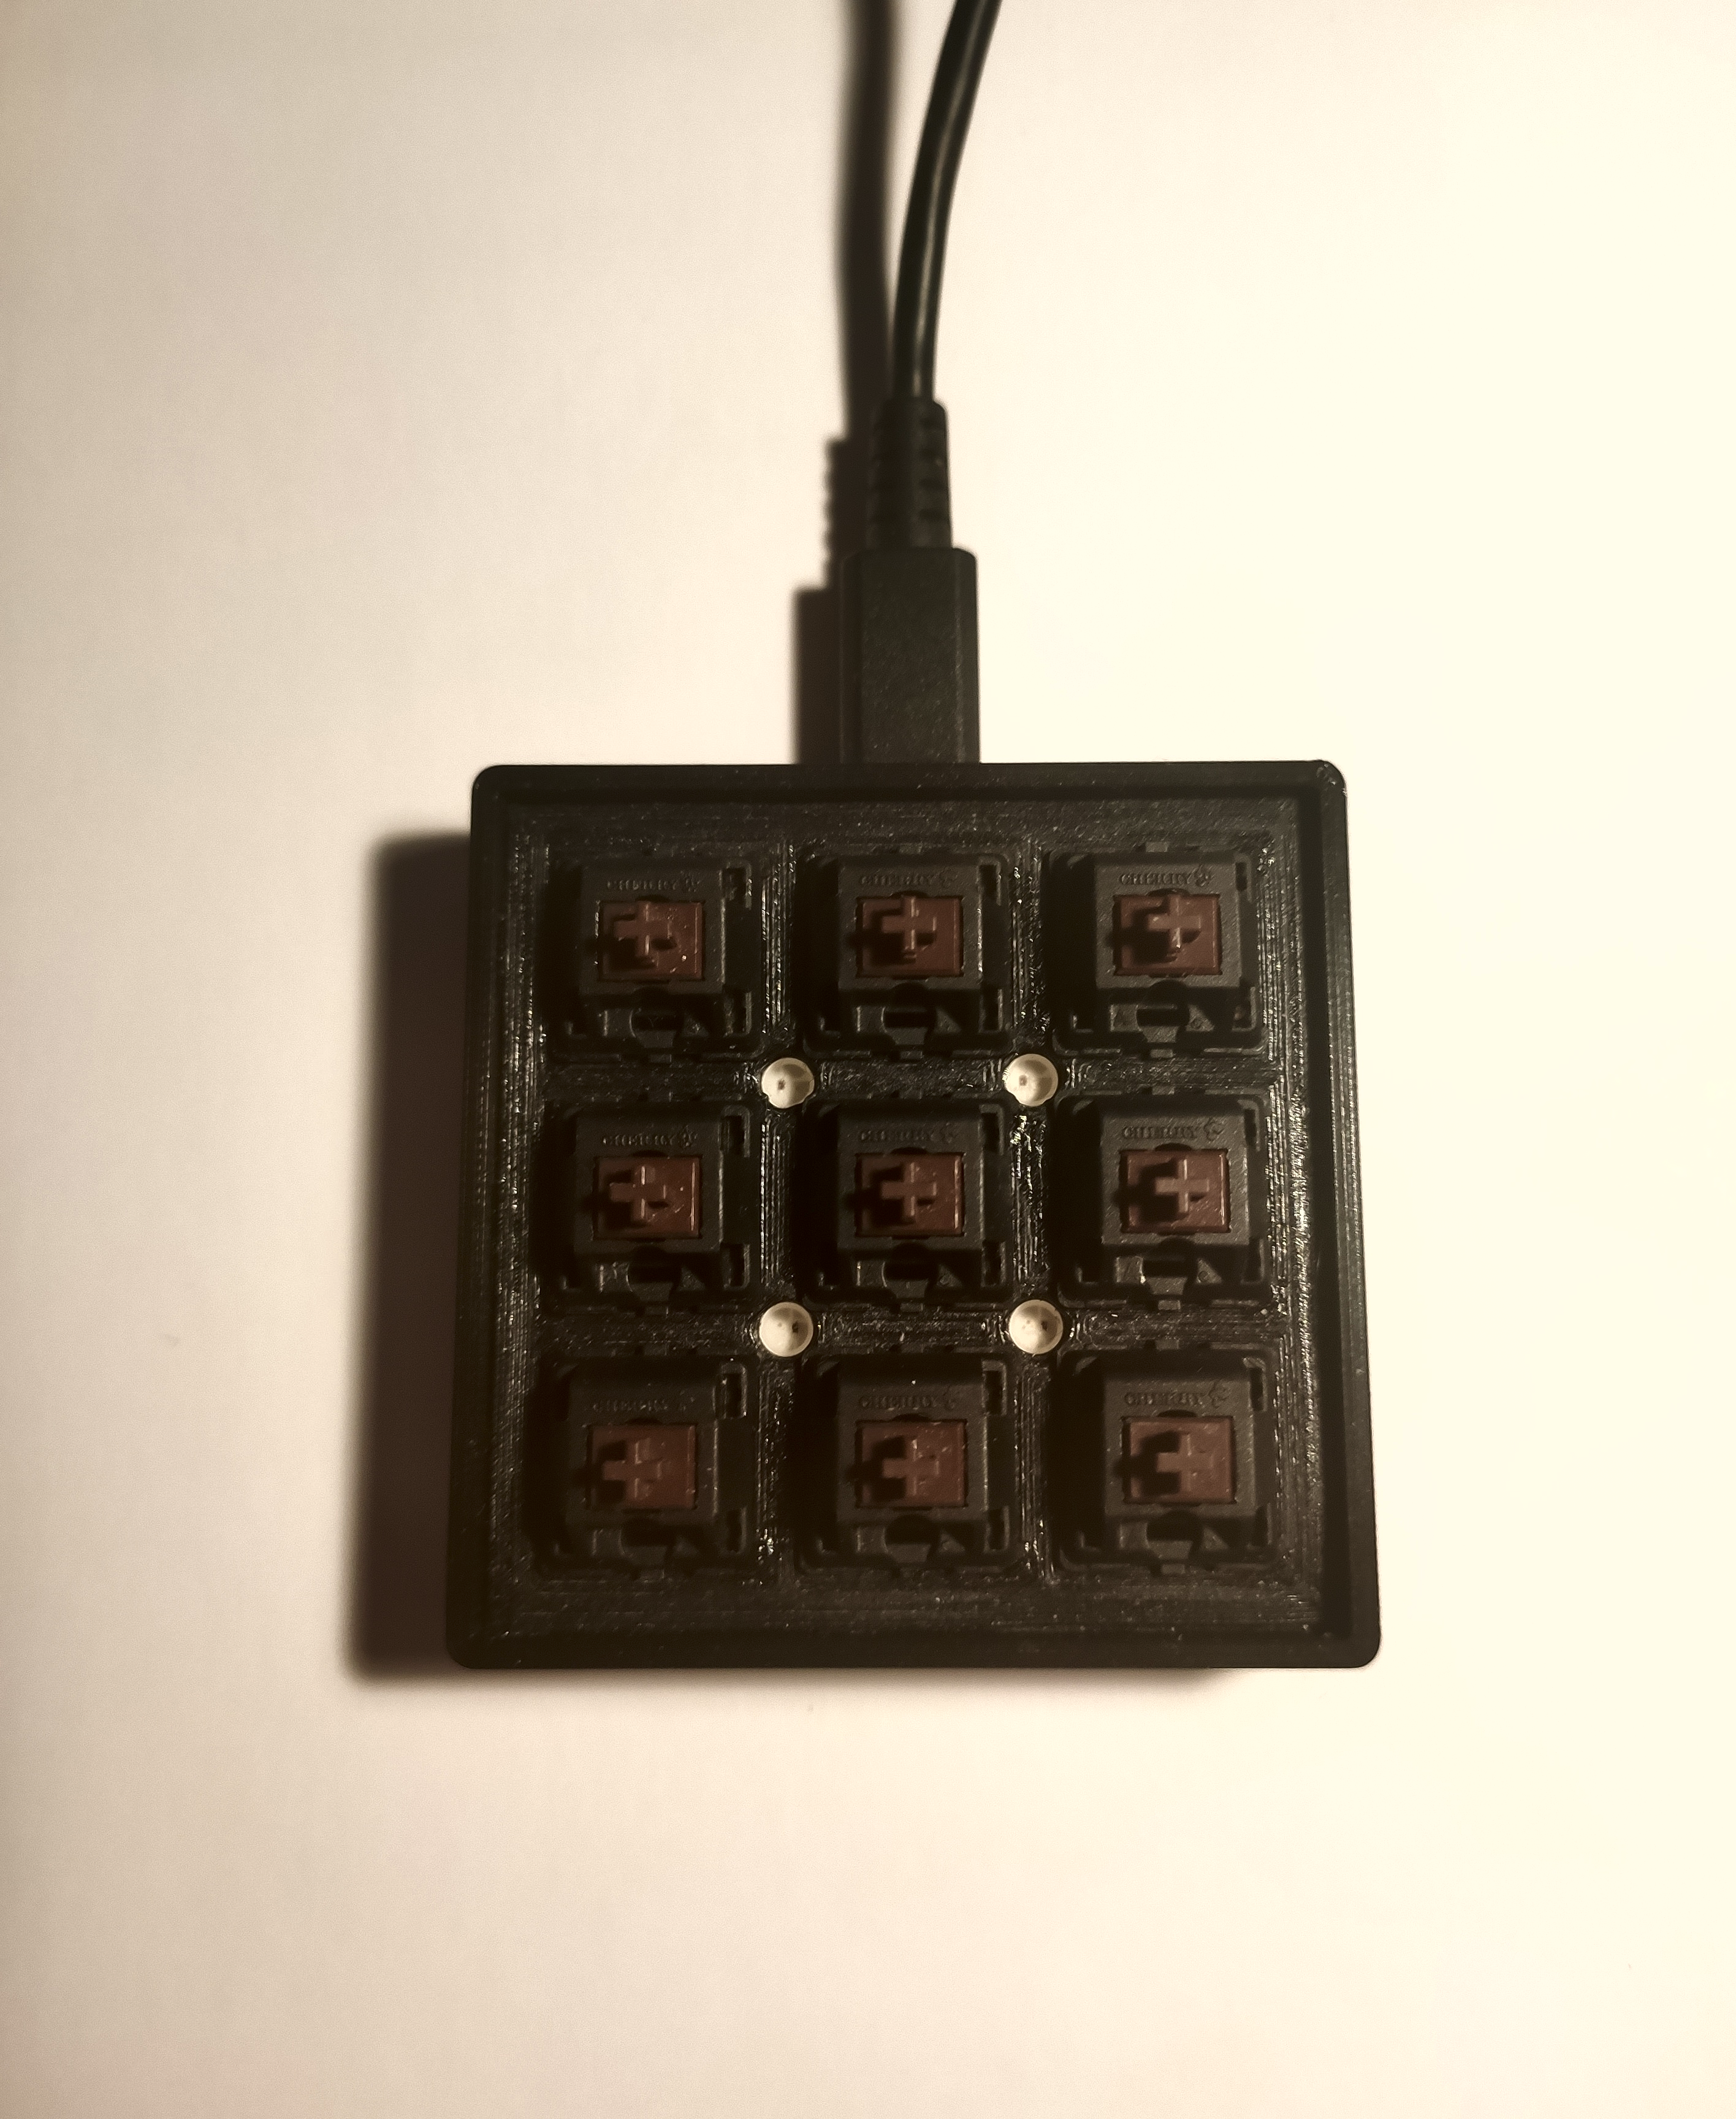
All the plastic parts are 3D printed on my Ender 3 Pro and made by me in Blender. The main body, the bottom lid, and the key switch spacers are all printed in black PLA. The key caps are printed in transparent PLA and can easily be replaced. I have a couple of key caps in white PLA with text or symbols but i like the transparent ones better.
Images: